


How to charge chassis batteries in an RV?
Whether you're preparing for a long journey, getting the batteries out of storage, or dealing with the cold of winter, a fully charged and well-maintained chassis battery is the key to carefree adventures.
This guide explains how motorhome chassis batteries work and provides tips on extending the life of motorhome chassis batteries, understanding their special requirements, and troubleshooting common problems.
Whether you are an experienced user or a newcomer, this guide contains everything you need to continue your journey smoothly and fully charged.
Table of contents
Part 1. What are motorhome chassis batteries?
1.1 Types of motorhome chassis batteries
1.2 How do motorhome chassis batteries work?
Part 2. How to charge a motorhome chassis battery at home
Part 3. When to charge a motorhome chassis battery
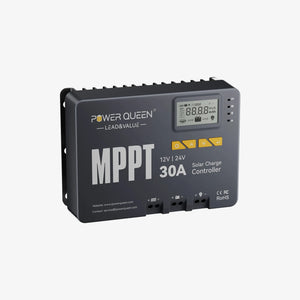
Part 4. Choosing the right charger for your motorhome chassis battery
Part 5. Advantages of a quality charger
Part 6. Tips for extending the lifespan of your motorhome chassis battery
Part 7. Routine Maintenance Checklist
Part 8. Common Problems and Troubleshooting
Part 9. The best motorhome chassis batteries on the market
Part 1. What are motorhome chassis batteries?
The motorhome chassis battery is a key component that powers the motorhome's engine and other essential drive systems such as headlights, dashboard, and windscreen wipers. It differs from the house battery in your motorhome, which powers the living area. The chassis battery is specifically designed to deliver the strong and rapid surge of power needed to start the engine.
Regular maintenance and proper charging are essential for the smooth operation of this battery, ensuring your motorhome is always ready to go. There are various types of this battery, including lead-acid, AGM (absorbent glass mat), and lithium-ion batteries, each offering different advantages depending on your motorhome's requirements and your travel habits.
1.1 Types of motorhome chassis batteries
There are two main types of batteries for motorhomes: chassis batteries and house batteries. Chassis batteries start the engine and power the basic drive components. House batteries power the living area, auxiliary appliances, and lighting. Chassis batteries provide high power for short periods.
In contrast, home batteries provide continuous and long-term power. This distinction means that chassis batteries are similar to car batteries in that they focus on providing power for starting the vehicle. Home batteries, like marine or deep-cycle batteries, are designed for longevity and extended discharge life. The main differences lie in capacity, discharge rate, and lifespan. Chassis batteries recharge faster, while home batteries store more energy for longer use.

1.2 How do motorhome chassis batteries work?
Your motorhome chassis battery starts the engine and powers the vehicle's basic functions.It delivers a quick, powerful surge of power when you turn the key. Unlike a home battery, it's not designed to provide a continuous supply. It's recharged while driving by the motorhome's alternator. The system converts mechanical energy into electrical energy. So, if the battery is always charged, your journey will be smooth.
Part 2. How to charge a motorhome chassis battery at home
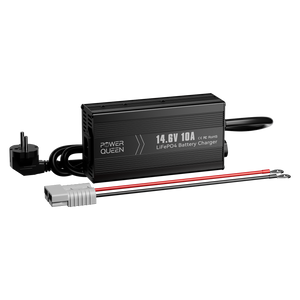
First, ensure your charger is compatible with your battery type: lead-acid, AGM, or lithium. Then, connect the charger's red clamp to the positive terminal and the black clamp to the negative terminal. Set the charger to the correct mode, such as trickle charge or full charge. Always monitor the charging process to prevent overcharging. Once finished, disconnect the charger, starting with the black clamp. This will allow you to safely and efficiently get your motorhome back on the road.
To charge your motorhome chassis battery at home, follow these steps:
- Identify the battery type: Check whether it is a lead-acid, AGM or lithium battery.
- Choose a charger: Use a charger that is compatible with your battery.
- Set up the charger: Place it near the camper van so that it is easily accessible.
- Connect the charger: Attach the red clamp to the positive terminal and the black clamp to the negative terminal.
- Set charging mode: Choose between modes such as trickle charge or standard charge.
- Monitor the charging process: Make sure the battery is fully charged and avoid overcharging.
- Disconnect the charger: First remove the black clamp, then the red one.
- Check battery: Make sure it's ready for your next trip.
- Using the correct charger and careful monitoring ensures optimal charging.

Part 3. When to charge a motorhome chassis battery
You should charge your motorhome chassis battery if you notice the following:
- Before long journeys: Make sure it is fully charged.
- After idle times: Batteries lose charge when they are not in use.
- In cold weather: Cold temperatures can cause the battery to discharge faster.
- When the engine is cranking slowly: This indicates a need for recharging.
More information: How to charge the trolling motor battery
3.1 sign of battery wear
Of course, batteries wear out or become ineffective over time, and we need to replace them. replace the battery. Here are the obvious signs of a worn-out campervan battery:
- Slow acceleration indicates reduced battery power.
- Dim light indicates that the battery is getting weak.
- Frequent recharging can be a sign of the battery's decreasing charging capacity.
- Swollen or bulging casings are signs of serious wear and tear.
- Corrosion at the terminals can impair the battery's performance.
- Age; older batteries often wear out faster.
- Check the voltage drop; a significant drop indicates wear.
- Unusual smells; a sulfur smell may indicate damage.
Part 4. Choosing the right charger for your motorhome chassis battery
First, determine what type of battery you have: AGM, lead-acid, or lithium. Each type requires a specific charger.
Choose a charger that is suitable for your battery to ensure optimal charging and lifespan. They prevent overcharging by automatically shutting off. Make sure the charger's amperage is appropriate for your battery's capacity. A properly matched charger keeps your battery healthy, extends its lifespan, and ensures you're ready for your trip.

Part 5. Advantages of a quality charger
Using a high-quality charger offers important advantages for your motorhome:
Protects the battery's lifespan: It prevents overcharging and protects your battery.
Increases efficiency: It charges faster and uses less energy.
Increases comfort: Many have simple plug-and-play functions.
Increases reliability: High-quality chargers are durable and reliable.
Offers versatility: They work with different battery types.
Ensures safety: They are equipped with integrated protective devices against interference.
These features make a high-quality charger a worthwhile investment for every motorhome owner.
Part 6. Tips for extending the lifespan of your motorhome chassis battery
Here are some simple tips to extend the lifespan of your motorhome chassis battery:
- Check the battery before every trip.Ensures readiness and performance.
- Recharge regularly.Prevents deep discharge and extends the battery's lifespan.
- Store correctly.Disconnect the battery and store it in a cool, dry place.
- Clean the poles frequently.Prevents power loss and corrosion.
- Use a smart charger.Avoids overloading and increases efficiency.
- Monitor the charge level.Helps maintain the optimal condition of the battery.
- Keep cool.Do not store them at extreme temperatures.
- Monthly inspection.Identify problems early to avoid bigger problems.
- Even charging.Ensures even wear and longevity.
- Follow the manufacturer's guidelines.Maximizes battery performance and safety.
More information: How long do lithium batteries last?
Part 7. Routine Maintenance Checklist
Here is a simple checklist for routine maintenance that will help you extend the life of your motorhome battery:
- Visual inspection: Check for visible signs of wear.
- Checking the terminals: Make sure all connections are tight and clean.
- Voltage test: Use a multimeter to check the voltage values.
- Clean the clamps: Use a baking soda solution to remove corrosion.
- Distilled water: If you are using a lead-acid battery, top up the fluid level.
- Secure fastening: Make sure the battery is securely fastened.
- Check ventilation: Make sure there is sufficient airflow around the battery.
- Charging status: Make sure the battery is fully charged.
- Look for leaks: Check for signs of electrolyte leakage.
- Record results: Record all inspections to identify trends.
Part 8. Common Problems and Troubleshooting
Knowing common RV battery problems and how to fix them can save you time and avoid unnecessary stress during your trip. Below is a short guide to help you identify and resolve typical RV battery issues.
The battery does not hold a charge.
If your Motorhome battery does not hold charge, First, check them for signs of corrosion or loose connections that could impair performance.You can use a multimeter to measure the battery voltage to determine if a replacement is needed. If the voltage is below the standard value, it's time for a new battery.
The battery discharges quickly
To extend battery life, avoid frequent, shallow discharges. Also, check for devices that draw power even when switched off. Identifying these can help prevent rapid discharge and further extend battery life.
The engine starts slowly.
A slow-starting engine often indicates battery problems. Make sure the battery terminals are clean and securely connected. If the problem persists, it's important to check the battery's condition; if it turns out to be faulty, it may need to be replaced.
Corrosion of the poles
Corrosion at the terminals can severely impair battery function. Cleaning the terminals with a mixture of baking soda and water, followed by the application of a corrosion protection gel, can alleviate this problem and prevent future corrosion.
Battery housing
Swelling of the battery casing usually indicates overcharging or excessive heat exposure. In such cases, replace the battery and ensure the charger is being used correctly to avoid similar problems.
No electricity either
After charging, if no current flows, check the main fuse and the battery disconnect switch. Also, check the wiring for breaks or disconnections that could be causing power problems.
Battery overheating
Should the battery overheat, immediately stop charging and allow it to cool down. Then check the cause of the overcharging and rectify it to prevent it from happening again.
Battery smell
A foul odor emanating from the battery could indicate a chemical leak or damage. In such cases, ensure the area is well-ventilated, then safely remove and dispose of the battery.
Regular cleaning and inspection of the battery can prevent many common problems. Using a smart charger helps avoid overcharging, and storing the battery in a cool, dry place during the off-season ensures longevity and readiness for use.
Read more: Storing LiFePO4 batteries: A guide to proper handling and storage
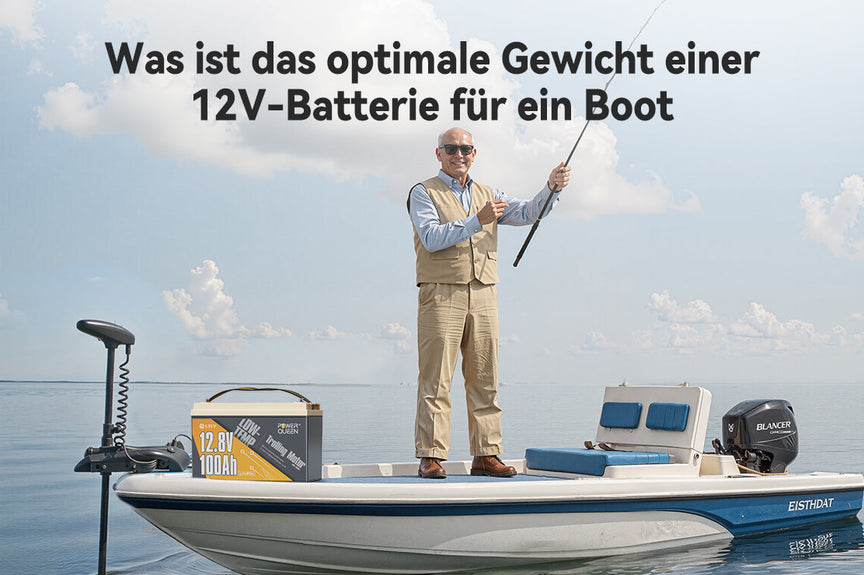
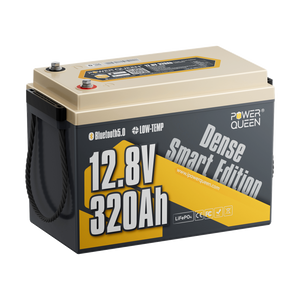
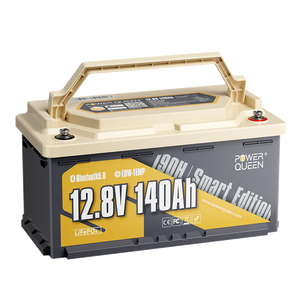
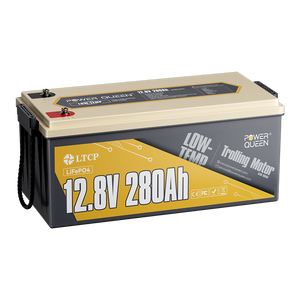
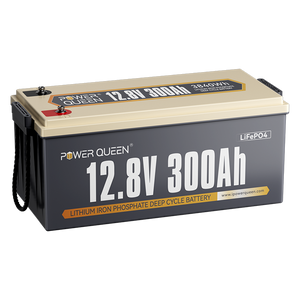
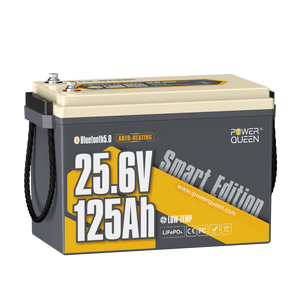
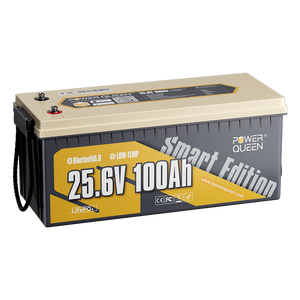
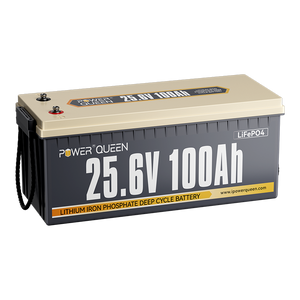
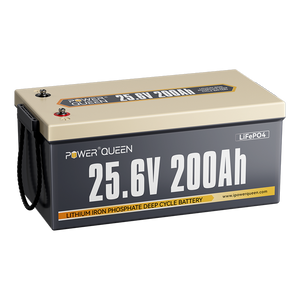
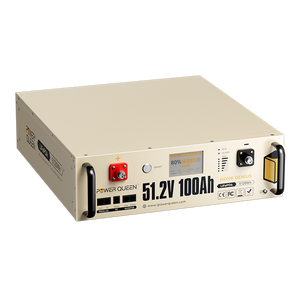
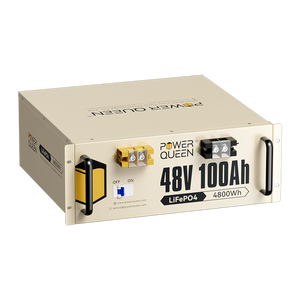
Part 9. The best motorhome chassis batteries on the market
If you find that your campervan battery has lost its charge and it's time to replace it, here's a simple guide to help you find the right power source for your equipment, big or small.
| Tension | Fits best | Advantages |
| Small motorhomes | Highly efficient, easy to install and powerful in a compact size. | |
| medium-sized motorhomes | More power for a better experience, with reliable performance for longer use. |
Part 10. Conclusion
Whether you're preparing for an epic journey or want to make sure your vehicle is ready for the next trip, it's important to know how to maintain your chassis battery.
We've covered the different battery types, when and how to charge them, and practical tips for extending your battery's lifespan. Remember, a well-maintained battery is key to worry-free RV adventures.
Travel safely and enjoy the peace of mind that comes with knowing your motorhome is powered by a reliably charged chassis battery. Keep this guide handy so you can always return with a full charge.